Back to Blog
How to Add an “Add to Calendar” Link on Canva
Written by

If you’re organizing an event and using Canva to create your promotional materials, adding an “Add to Calendar” link is a clever touch to boost attendance. Here’s how to seamlessly integrate this feature, keeping your audience just a click away from saving the date.
Step 1: Create Your Calendar Link
First, use a tool like CalGet to generate your event’s calendar link. This tool is user-friendly and allows you to customize the event details that will show up on your attendees’ personal calendars.
Step 2: Craft Your Canva Design
Jump over to Canva and select the design template that matches your event’s theme. Canva offers a variety of templates, from flyers to social media posts, giving you the flexibility to choose the best fit for your promotional strategy.
Step 3: Embed Your Link
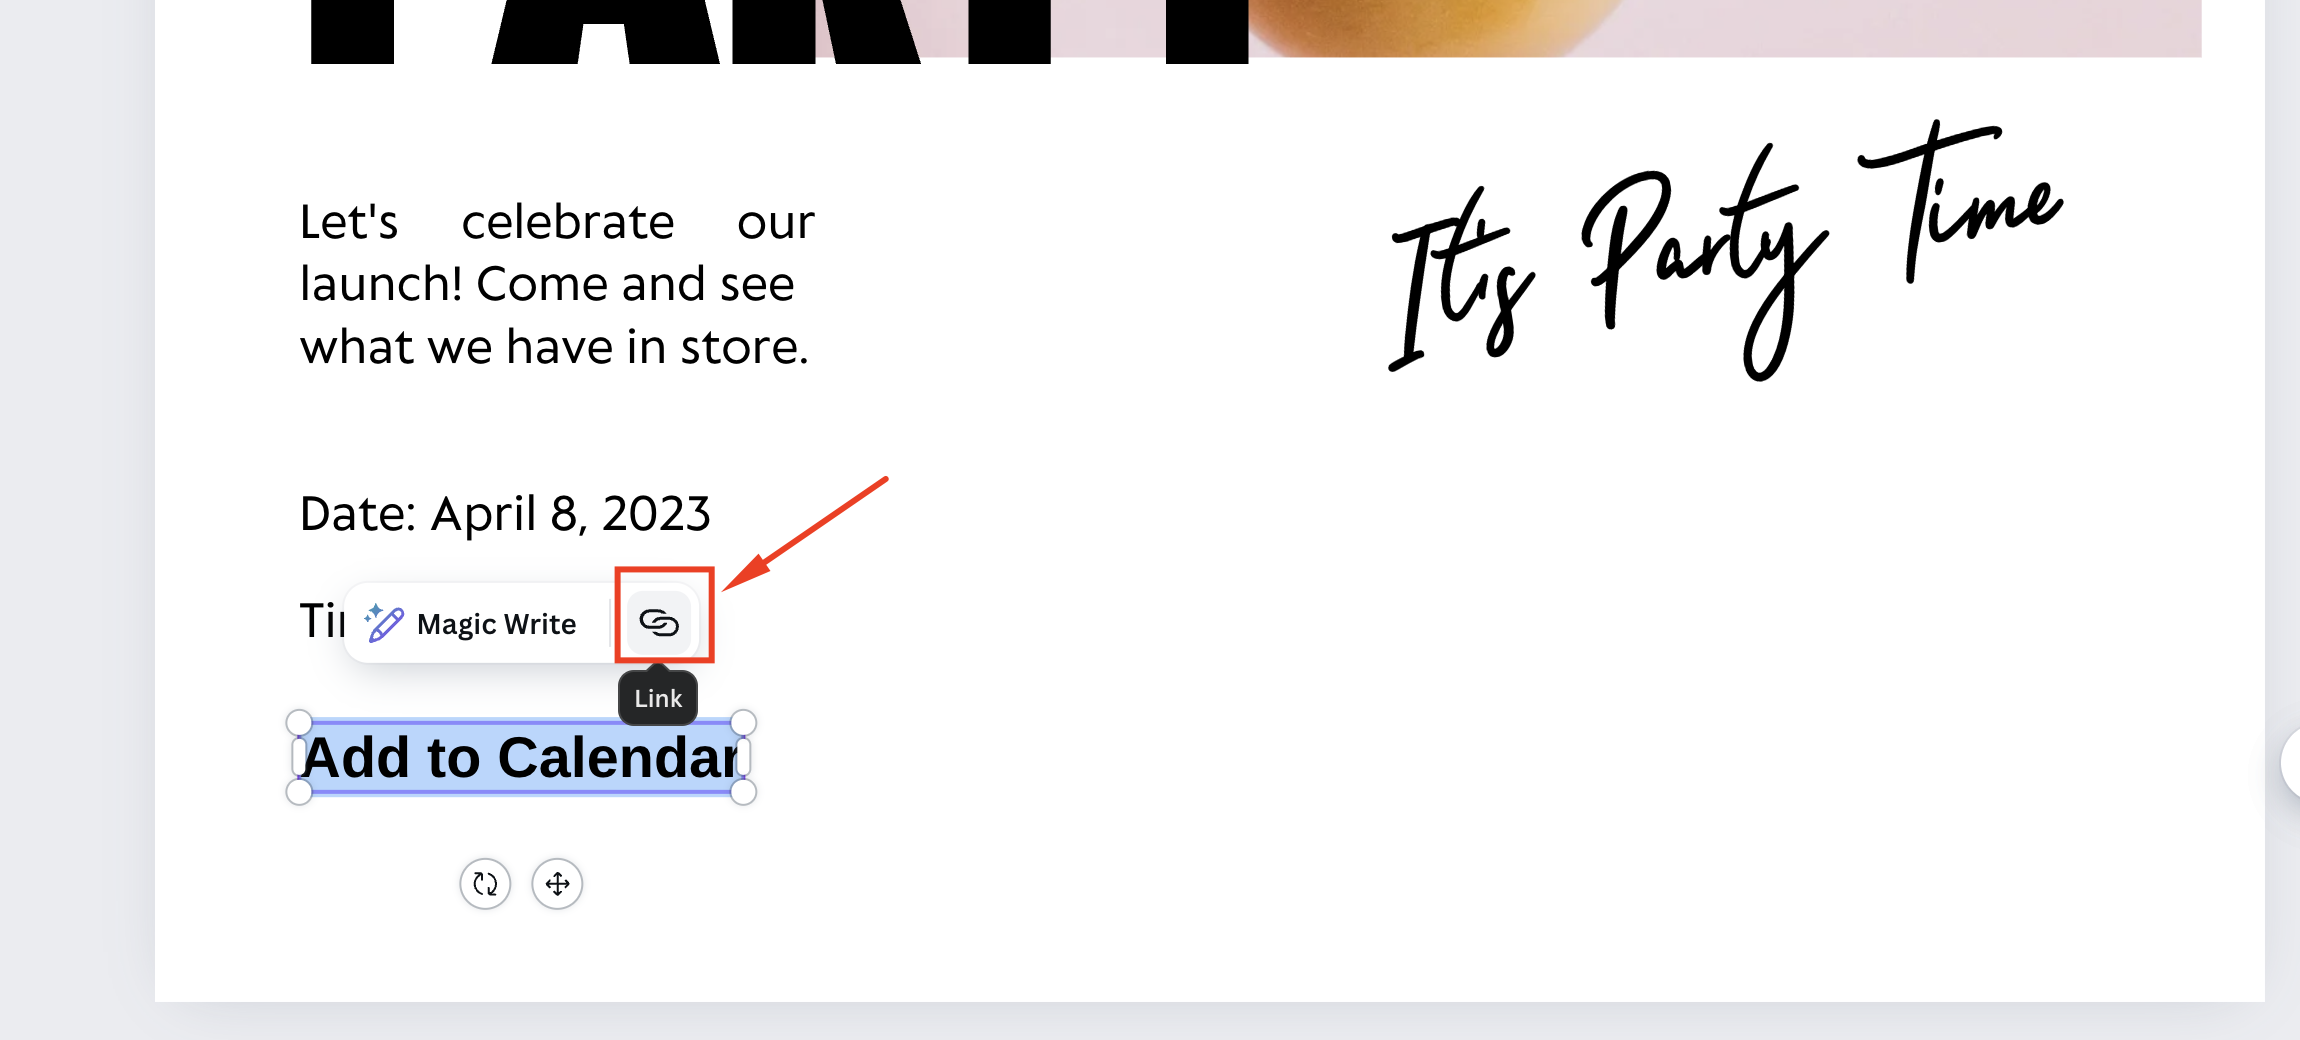
Once your design looks just right, add text like “Add this to your calendar.” Highlight this text, then turn it into a hyperlink by pasting the “Add to Calendar” link you generated. Canva’s interface makes this process straightforward—just click the link icon in the text toolbar.

Step 4: Share Your Design
Now that your design is complete and the link is embedded, it’s ready to be shared. Publish your design on Canva and share it across your social media platforms, emails, or website to reach your audience effectively.
Why This Works
Integrating an “Add to Calendar” link directly into your designs not only simplifies the process for your audience but also subtly enhances your marketing by keeping your event top of mind. With Canva’s flexible design tools and CalGet’s link generation, this method is not just efficient but also professional and stylish.
Get Your Events on Everyone's Calendar.
Generate universal "Add to Calendar" links that work everywhere. Perfect for social media, emails, and websites.