Install the CalGet WordPress plugin and add the block
Updated October 20, 2026
The CalGet plugin for WordPress adds an Add to Calendar Button block to the WordPress editor. Pick one of your CalGet events, or make a new one, and your page shows buttons for Google, Apple, Office 365, Outlook, Yahoo and an ICS file. You need a CalGet account and your team's API key.
Install the plugin
- In your WordPress dashboard, go to Plugins > Add Plugin.
- In the search box, type CalGet.
- Find Add to Calendar Button - CalGet and click Install Now.
- When the button changes, click Activate.
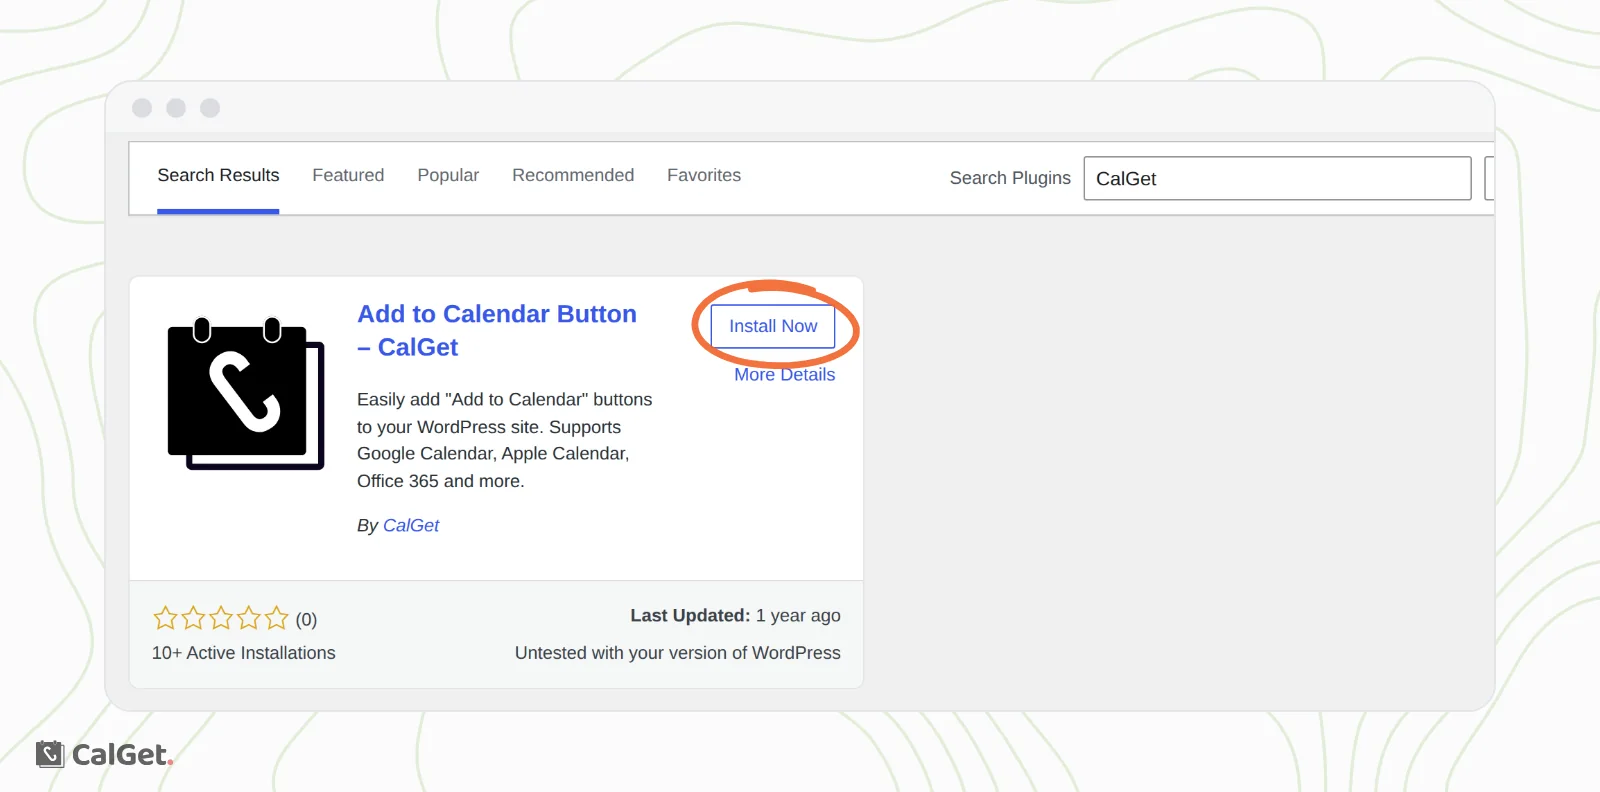
WordPress may say the plugin is untested with your version. It worked in our test on WordPress 7.1.
Connect it to your CalGet team
- In CalGet, copy your team's API key. See Find and copy your team's API key.
- In WordPress, go to Settings > Add to Calendar : CalGet.
- Under API Configuration, paste the key into the box.
- Click Save API Key.
The page then shows Connected to: with your team's name and plan.
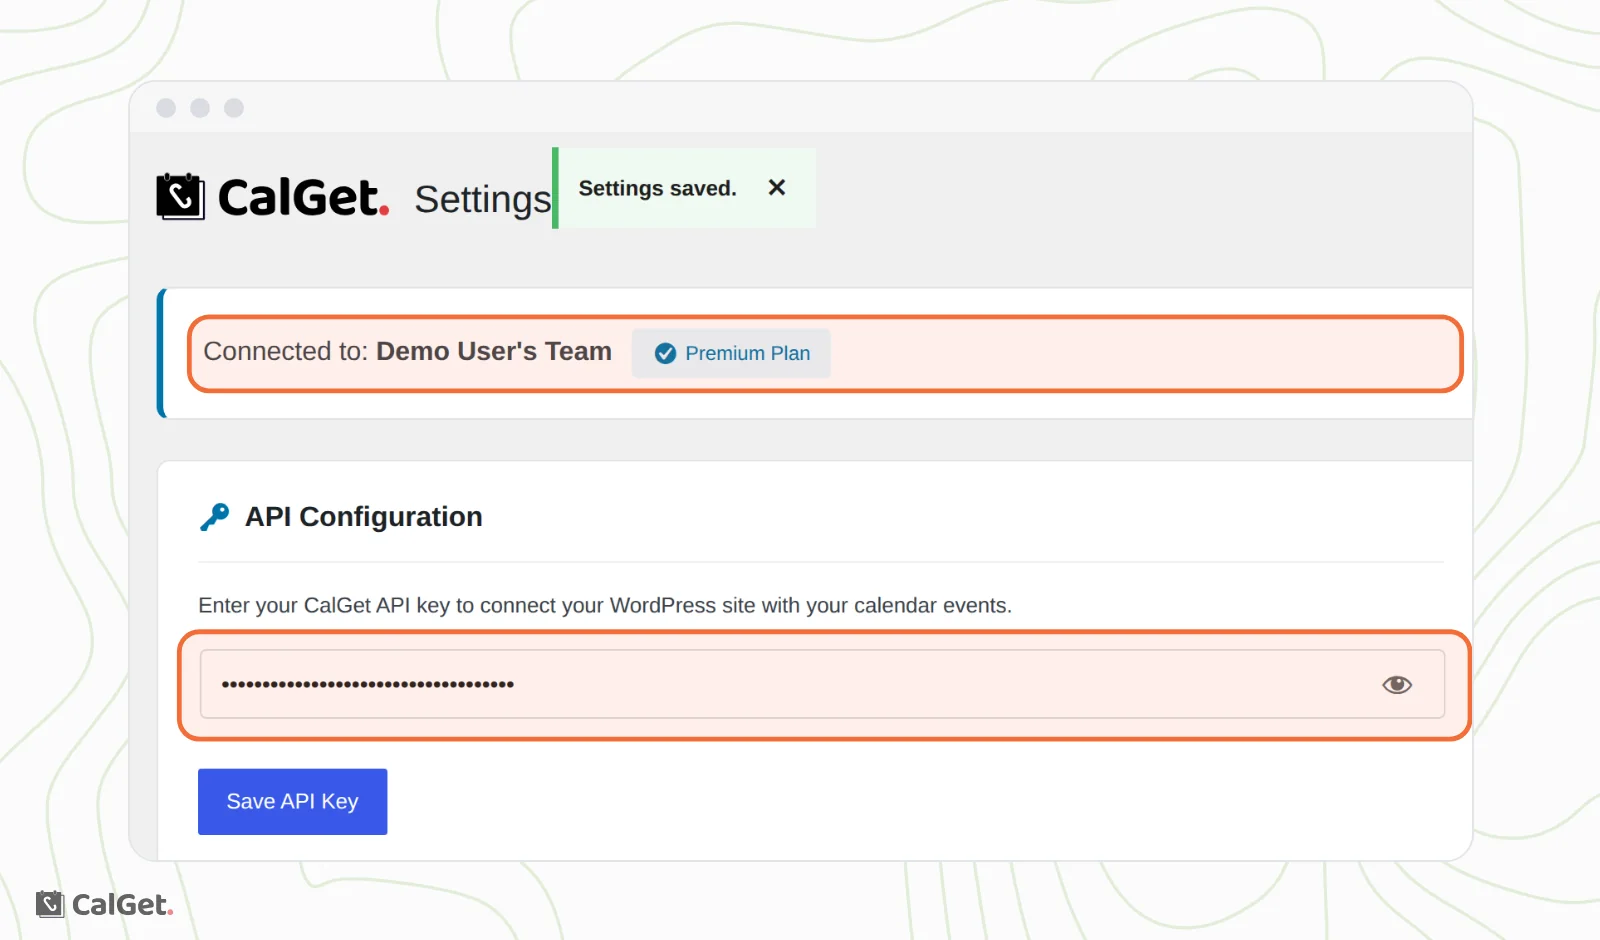
The plugin uses the events of the team whose key you paste. To use another team, paste that team's key instead.
Add the block to a page or post
- Open the page or post in the WordPress editor.
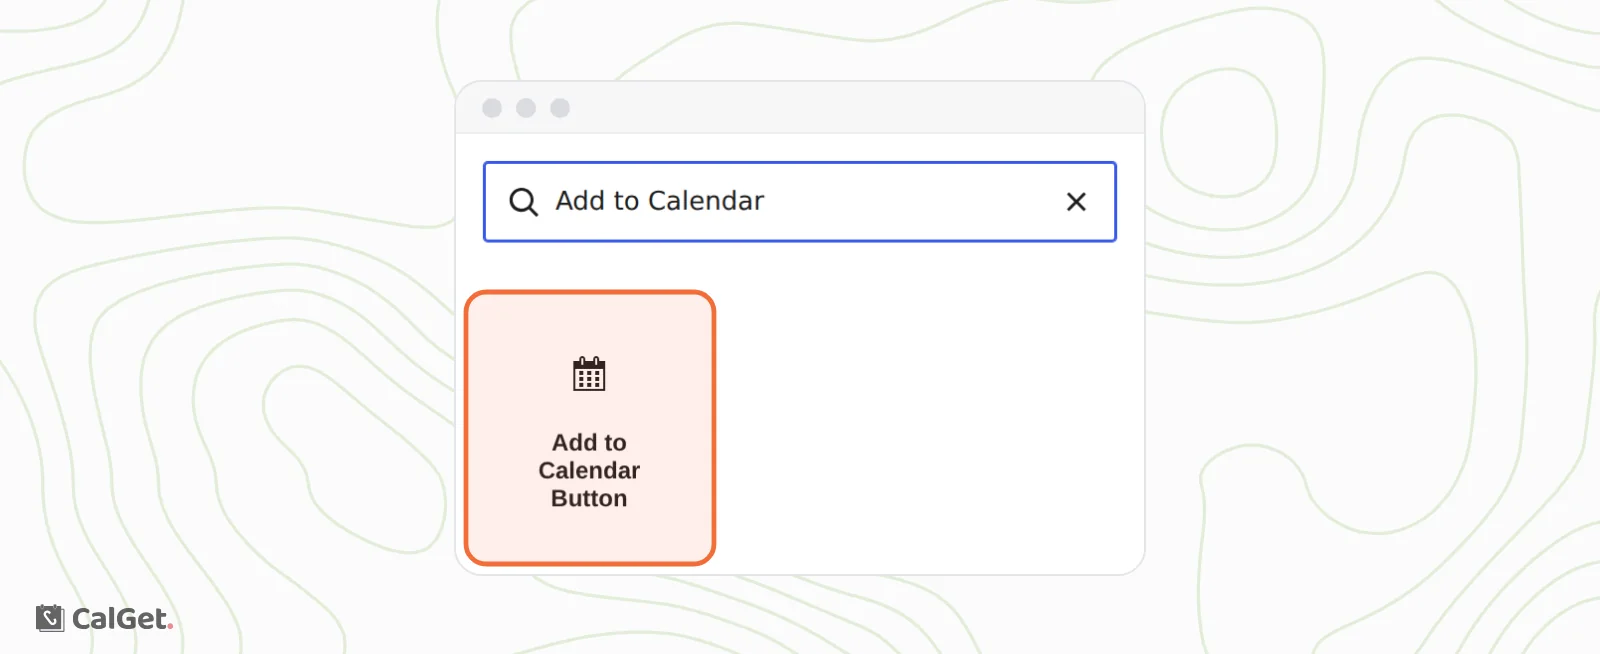
- Click the + button at the top left, search for Add to Calendar, and click Add to Calendar Button.
- In the settings on the right, under Calendar Settings, keep Existing Event selected.
- Under SELECT CALENDAR, choose the CalGet calendar your event is in.
- Under SELECT EVENT, choose your event. If you have more events, use the arrows below the list to see them.
- Click Publish or Save.
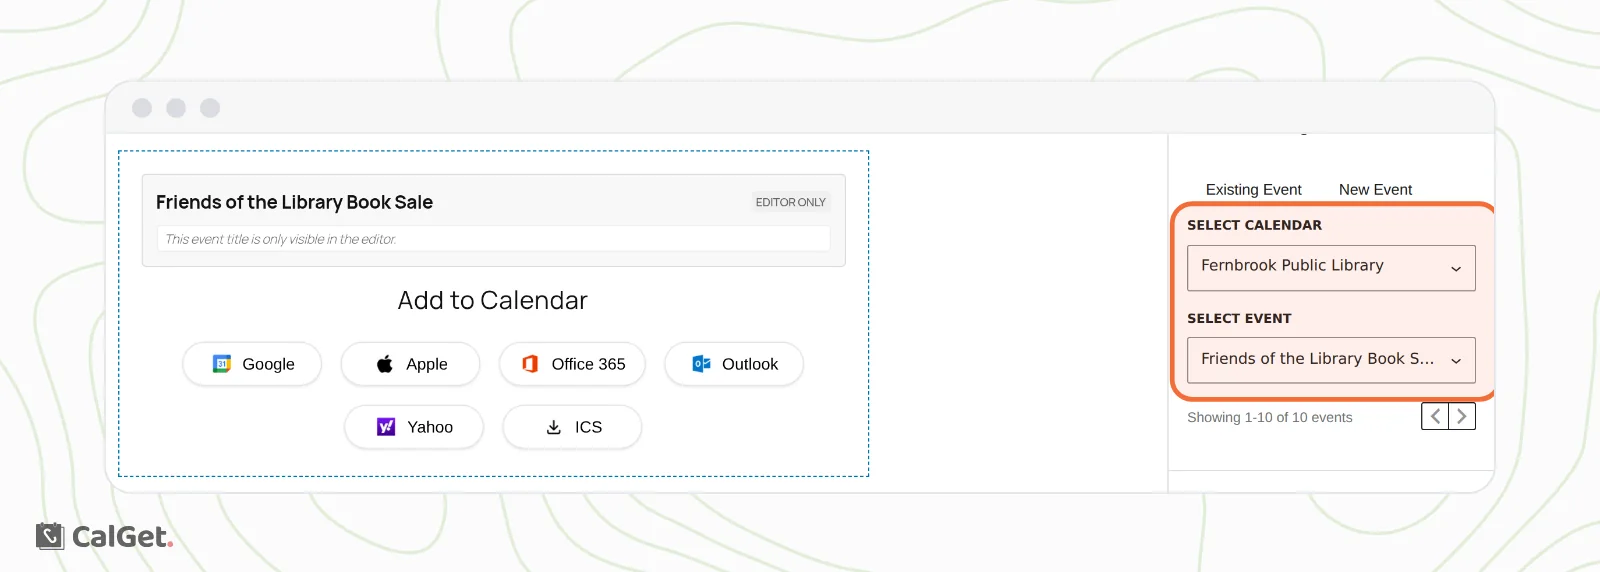
In the editor, the block shows the event's name marked EDITOR ONLY, so you can check you picked the right one. Visitors don't see it.
Make a new event from the block
If the event isn't in CalGet yet, click New Event under Calendar Settings:
- Under SELECT CALENDAR, choose the calendar the event goes in.
- Fill in EVENT TITLE, DESCRIPTION and LOCATION. Tick Online Event or All Day if they apply.
- Set START DATE/TIME and END DATE/TIME.
- Under TIMEZONE, choose your event's time zone. It starts as UTC, so change it if your event isn't in UTC.
- Click Create Event.
The event is saved to your CalGet account, appears on My Events, and is added to the block. To change it later, edit it in CalGet. See Edit, duplicate or delete an event.
Change how the buttons look
Under Button Settings in the block's settings:
- Pick a button color.
- Drag BUTTON ROUNDNESS to go from square to rounded corners.
- Turn Show Icons off to show the calendar names without logos.
- Under Calendar Services, turn off any calendar you don't want to offer, for example Yahoo.
Under Advanced, you can add an HTML ANCHOR, extra CSS classes, or your own CSS in ADDITIONAL CSS.
What visitors see
Your page shows an Add to Calendar heading with a button for each calendar. Google, Office 365, Outlook and Yahoo open the visitor's calendar with the event filled in. Apple and ICS download the event as a calendar file.
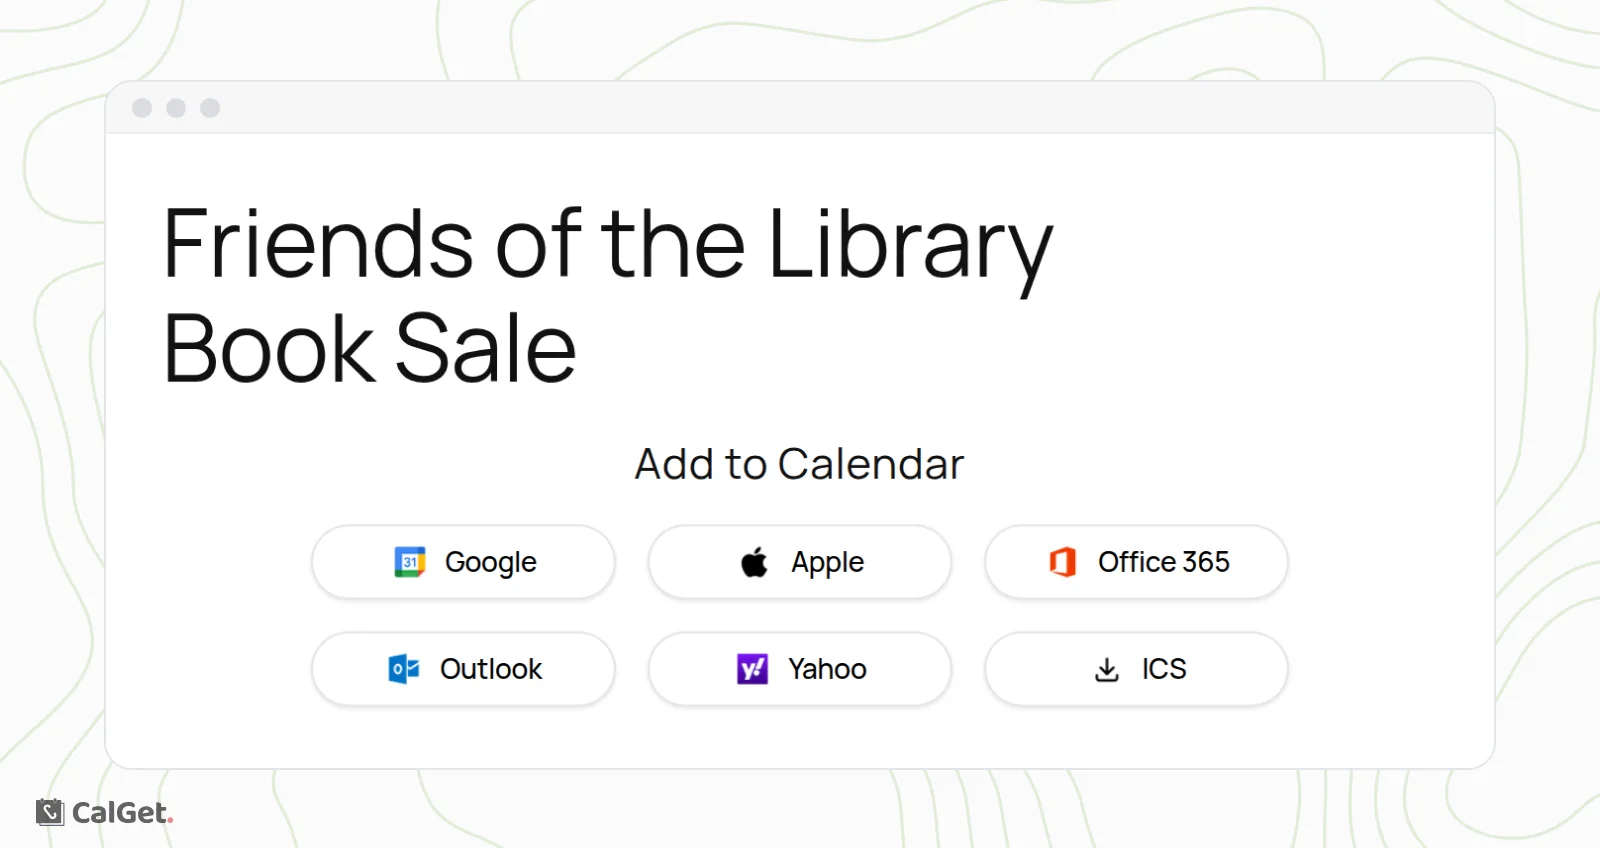
The block doesn't show the event's name, date or place. Write those in your page, above the buttons.
Common questions
Does it work with the classic editor?
The plugin adds a block, so you add it in the WordPress block editor.
If I change the event in CalGet, do I need to update the page?
No. The buttons use the event's latest details from CalGet, so a new time or place shows up in the calendar invite automatically.
Can I show a whole calendar instead of one event?
Not with this block. Use the embeddable calendar instead. See Customize the embeddable calendar and get its code.