Embeddable Calendar setup: domains, look and code
Updated October 20, 2026
The embeddable calendar shows one of your CalGet calendars on your own website. Visitors see your events, open them, and subscribe to the calendar, and it updates by itself when you add or change events. Setting it up takes three parts: allow your website's domain, choose how the calendar looks, and paste the code into your site.
1. Allow your website's domain
The calendar only shows on websites you allow.
- In the menu on the left, click Embeddable Calendar.
- At the top right, click Domains, then Add Domain.
- Under Domain, type your website's domain without https://, for example www.example.org, and click Add Domain.
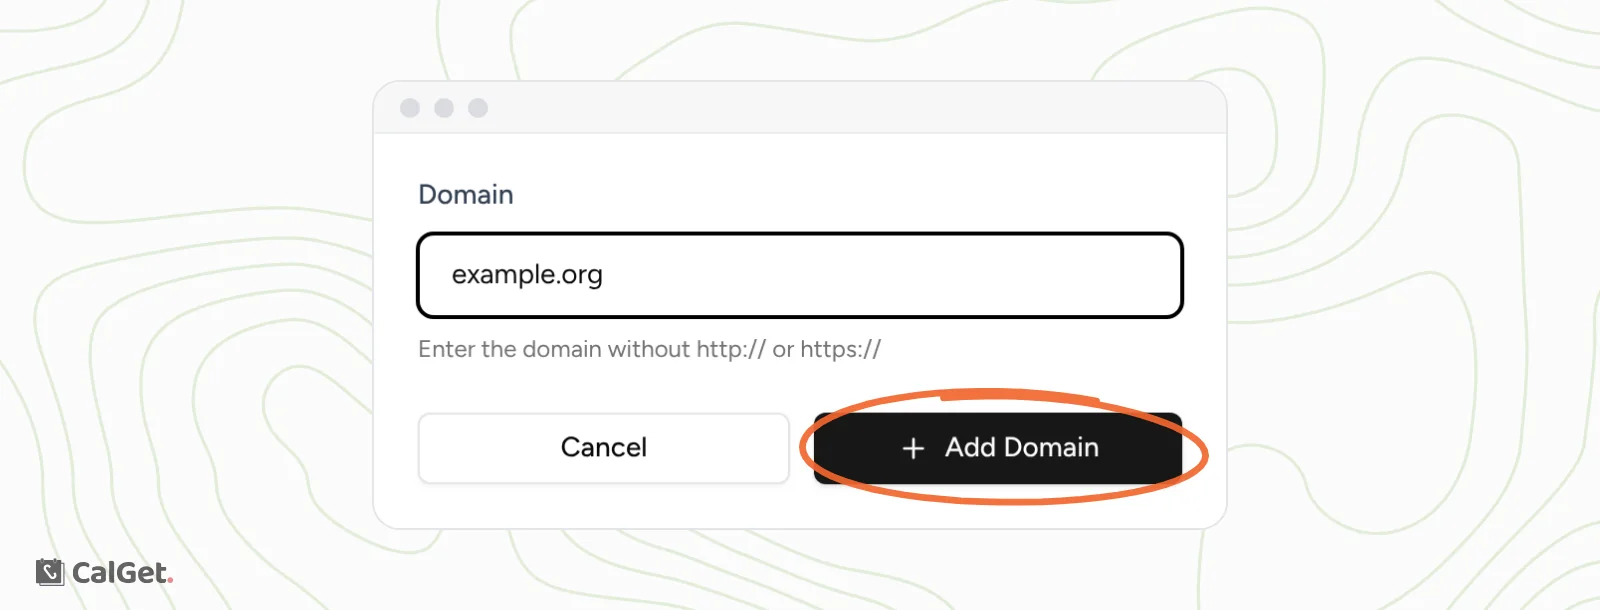
Add both versions if your site opens with and without www. For more, see Allow your website's domain for the embedded calendar.
2. Choose how it looks
On the Embeddable Calendar page, pick your calendar. Use the toolbar under the preview to choose a color, a light or dark theme, the view (such as Month or Schedule) and the layout.
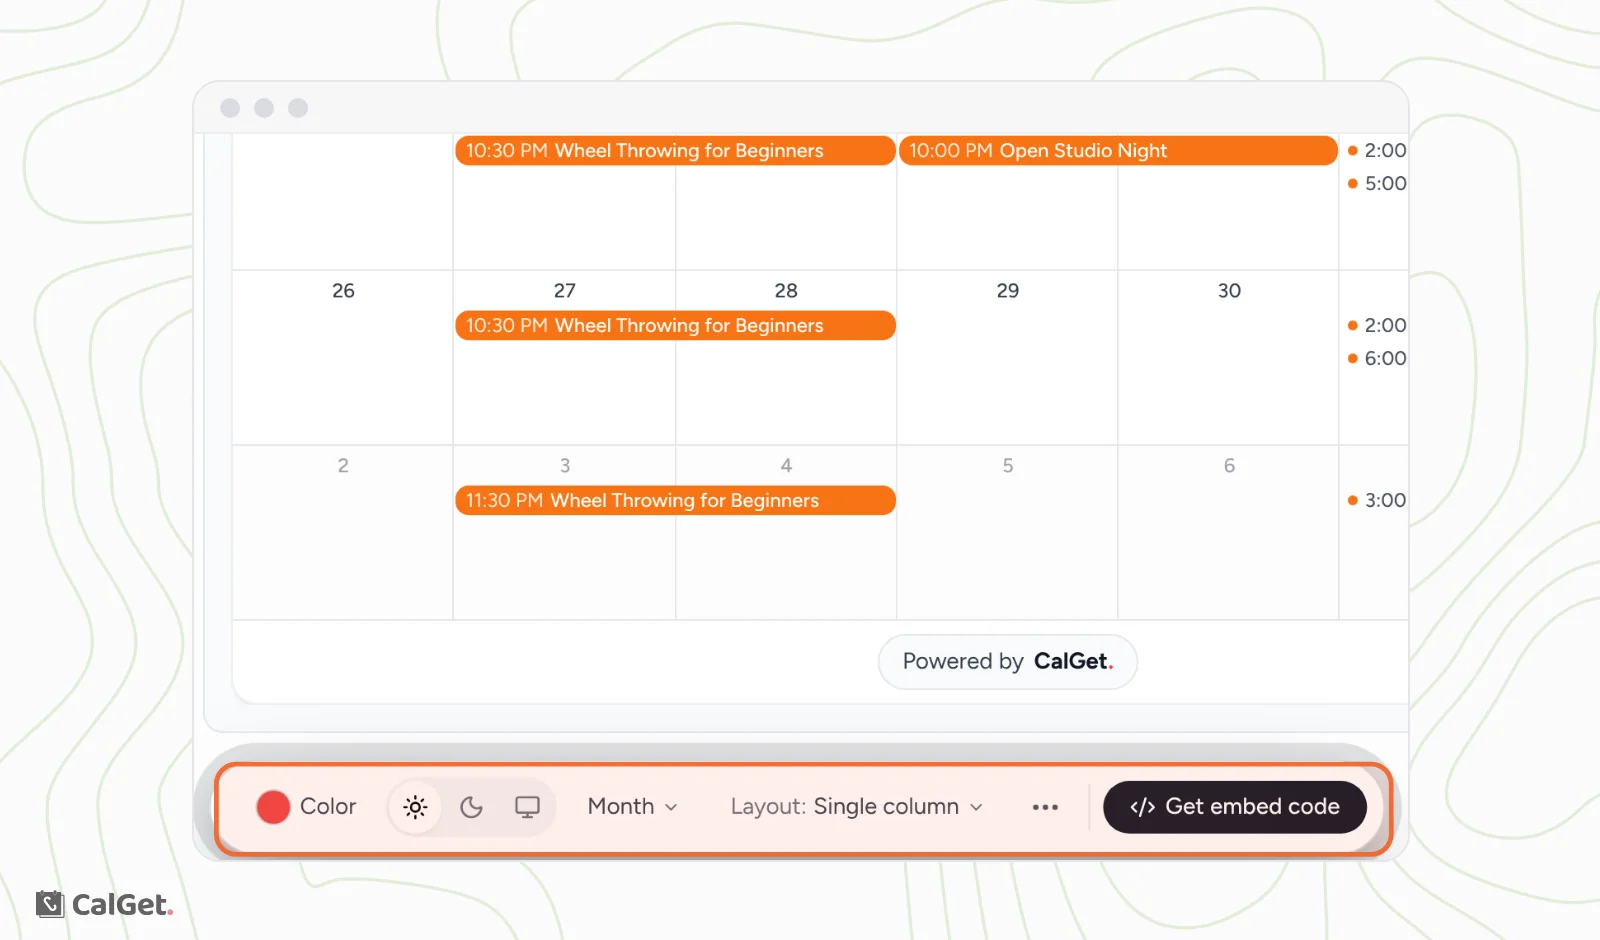
Every option is explained in Customize the embeddable calendar and get its code.
3. Copy the code and paste it into your site
- Click Get embed code.
- Choose JS Embed (recommended), iFrame or Direct link.
- Click Copy code.
- In your website builder, add an HTML or embed block where the calendar should go, paste the code, and publish the page.
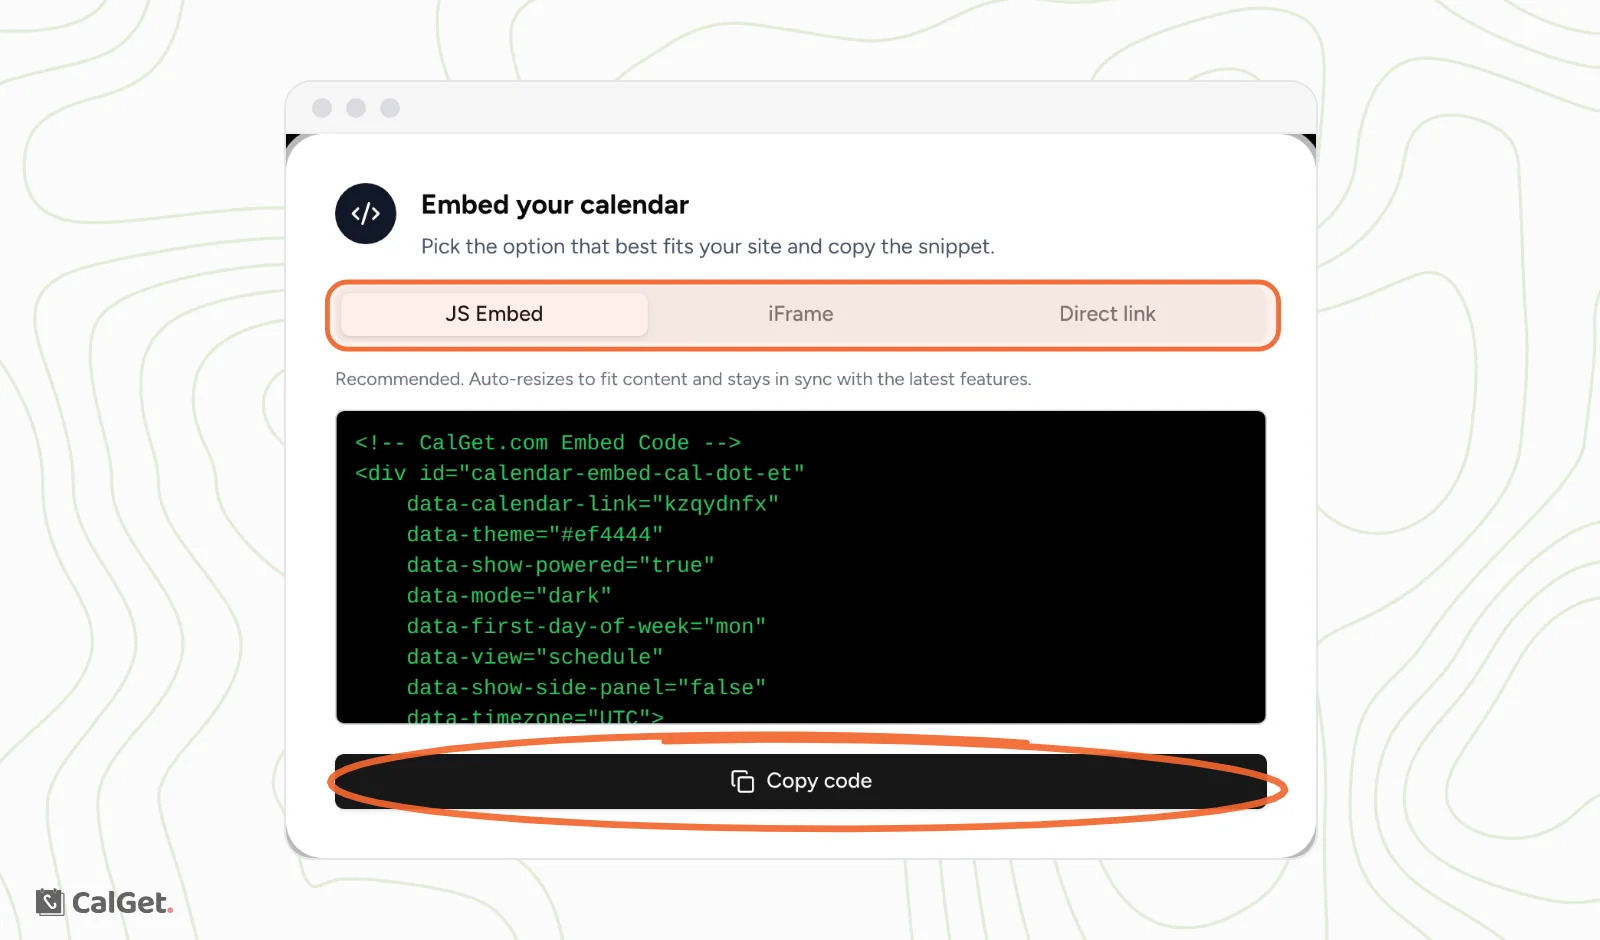
Your look is saved in the code itself. If you change it later, copy the code again and replace the old code on your site.
Guides for website builders
Where you paste the code depends on your website builder. Our blog has step-by-step guides:
Common questions
The calendar says "Access Restricted". What's wrong?
The domain your site is on isn't allowed yet. The message names the domain to add. See Allow your website's domain for the embedded calendar.
Do I need to update the code when I add events?
No. New and changed events show in the embedded calendar on their own.